
Kinsta released the static website hosting which is free to have an website hosted there, in the Kinsta free static site tier you get:
This is more the enough, sure you can host your static website to other providers like CloudFlare, Netlify or Varcel but in this tutorial we are going to take a look of how you can use Kinsta static website.
In this section we are going to see everything that needs to be done to have an static WordPress website hosted on Kinsta free tier.
You can use one of the git repository that are free to set up you static website and host the files there, in this tutorial we are going to use GitHub as I have already an account but you can use BitBucket also.
The first step would be to create an GitHub account and create a blanck repo in there:
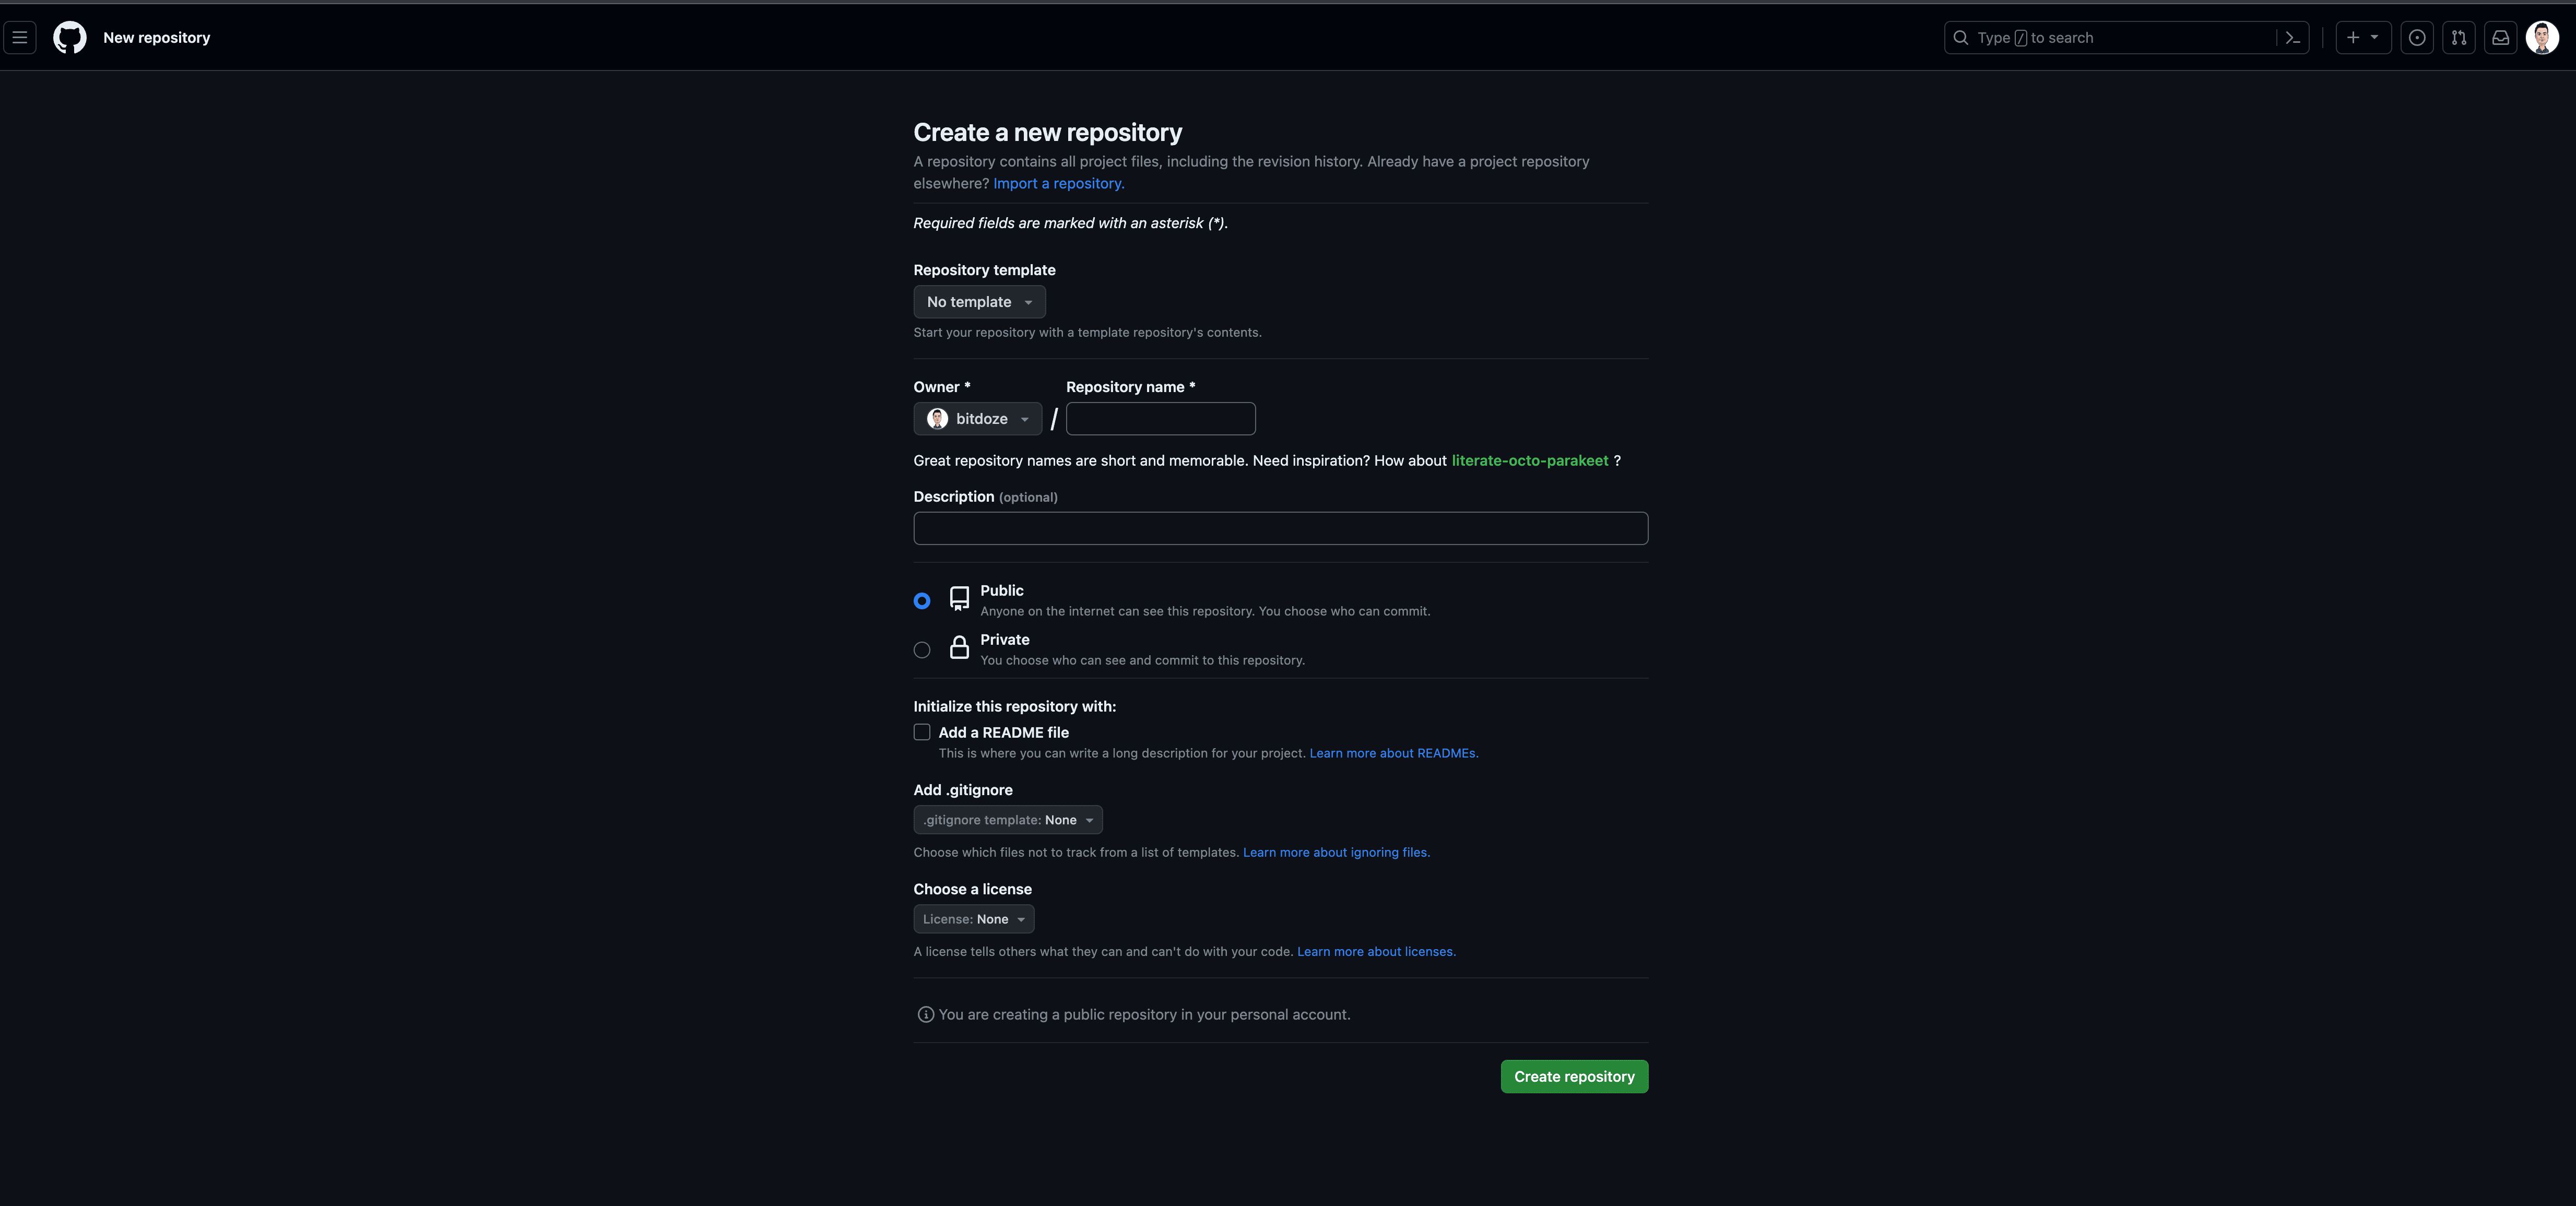
In here you just assign it a name and a description and choose to make it public or private, I will use public as you are allowed to have more free resources on GitHub this way.
You need to create a file in the repo after so the main branch to be created.
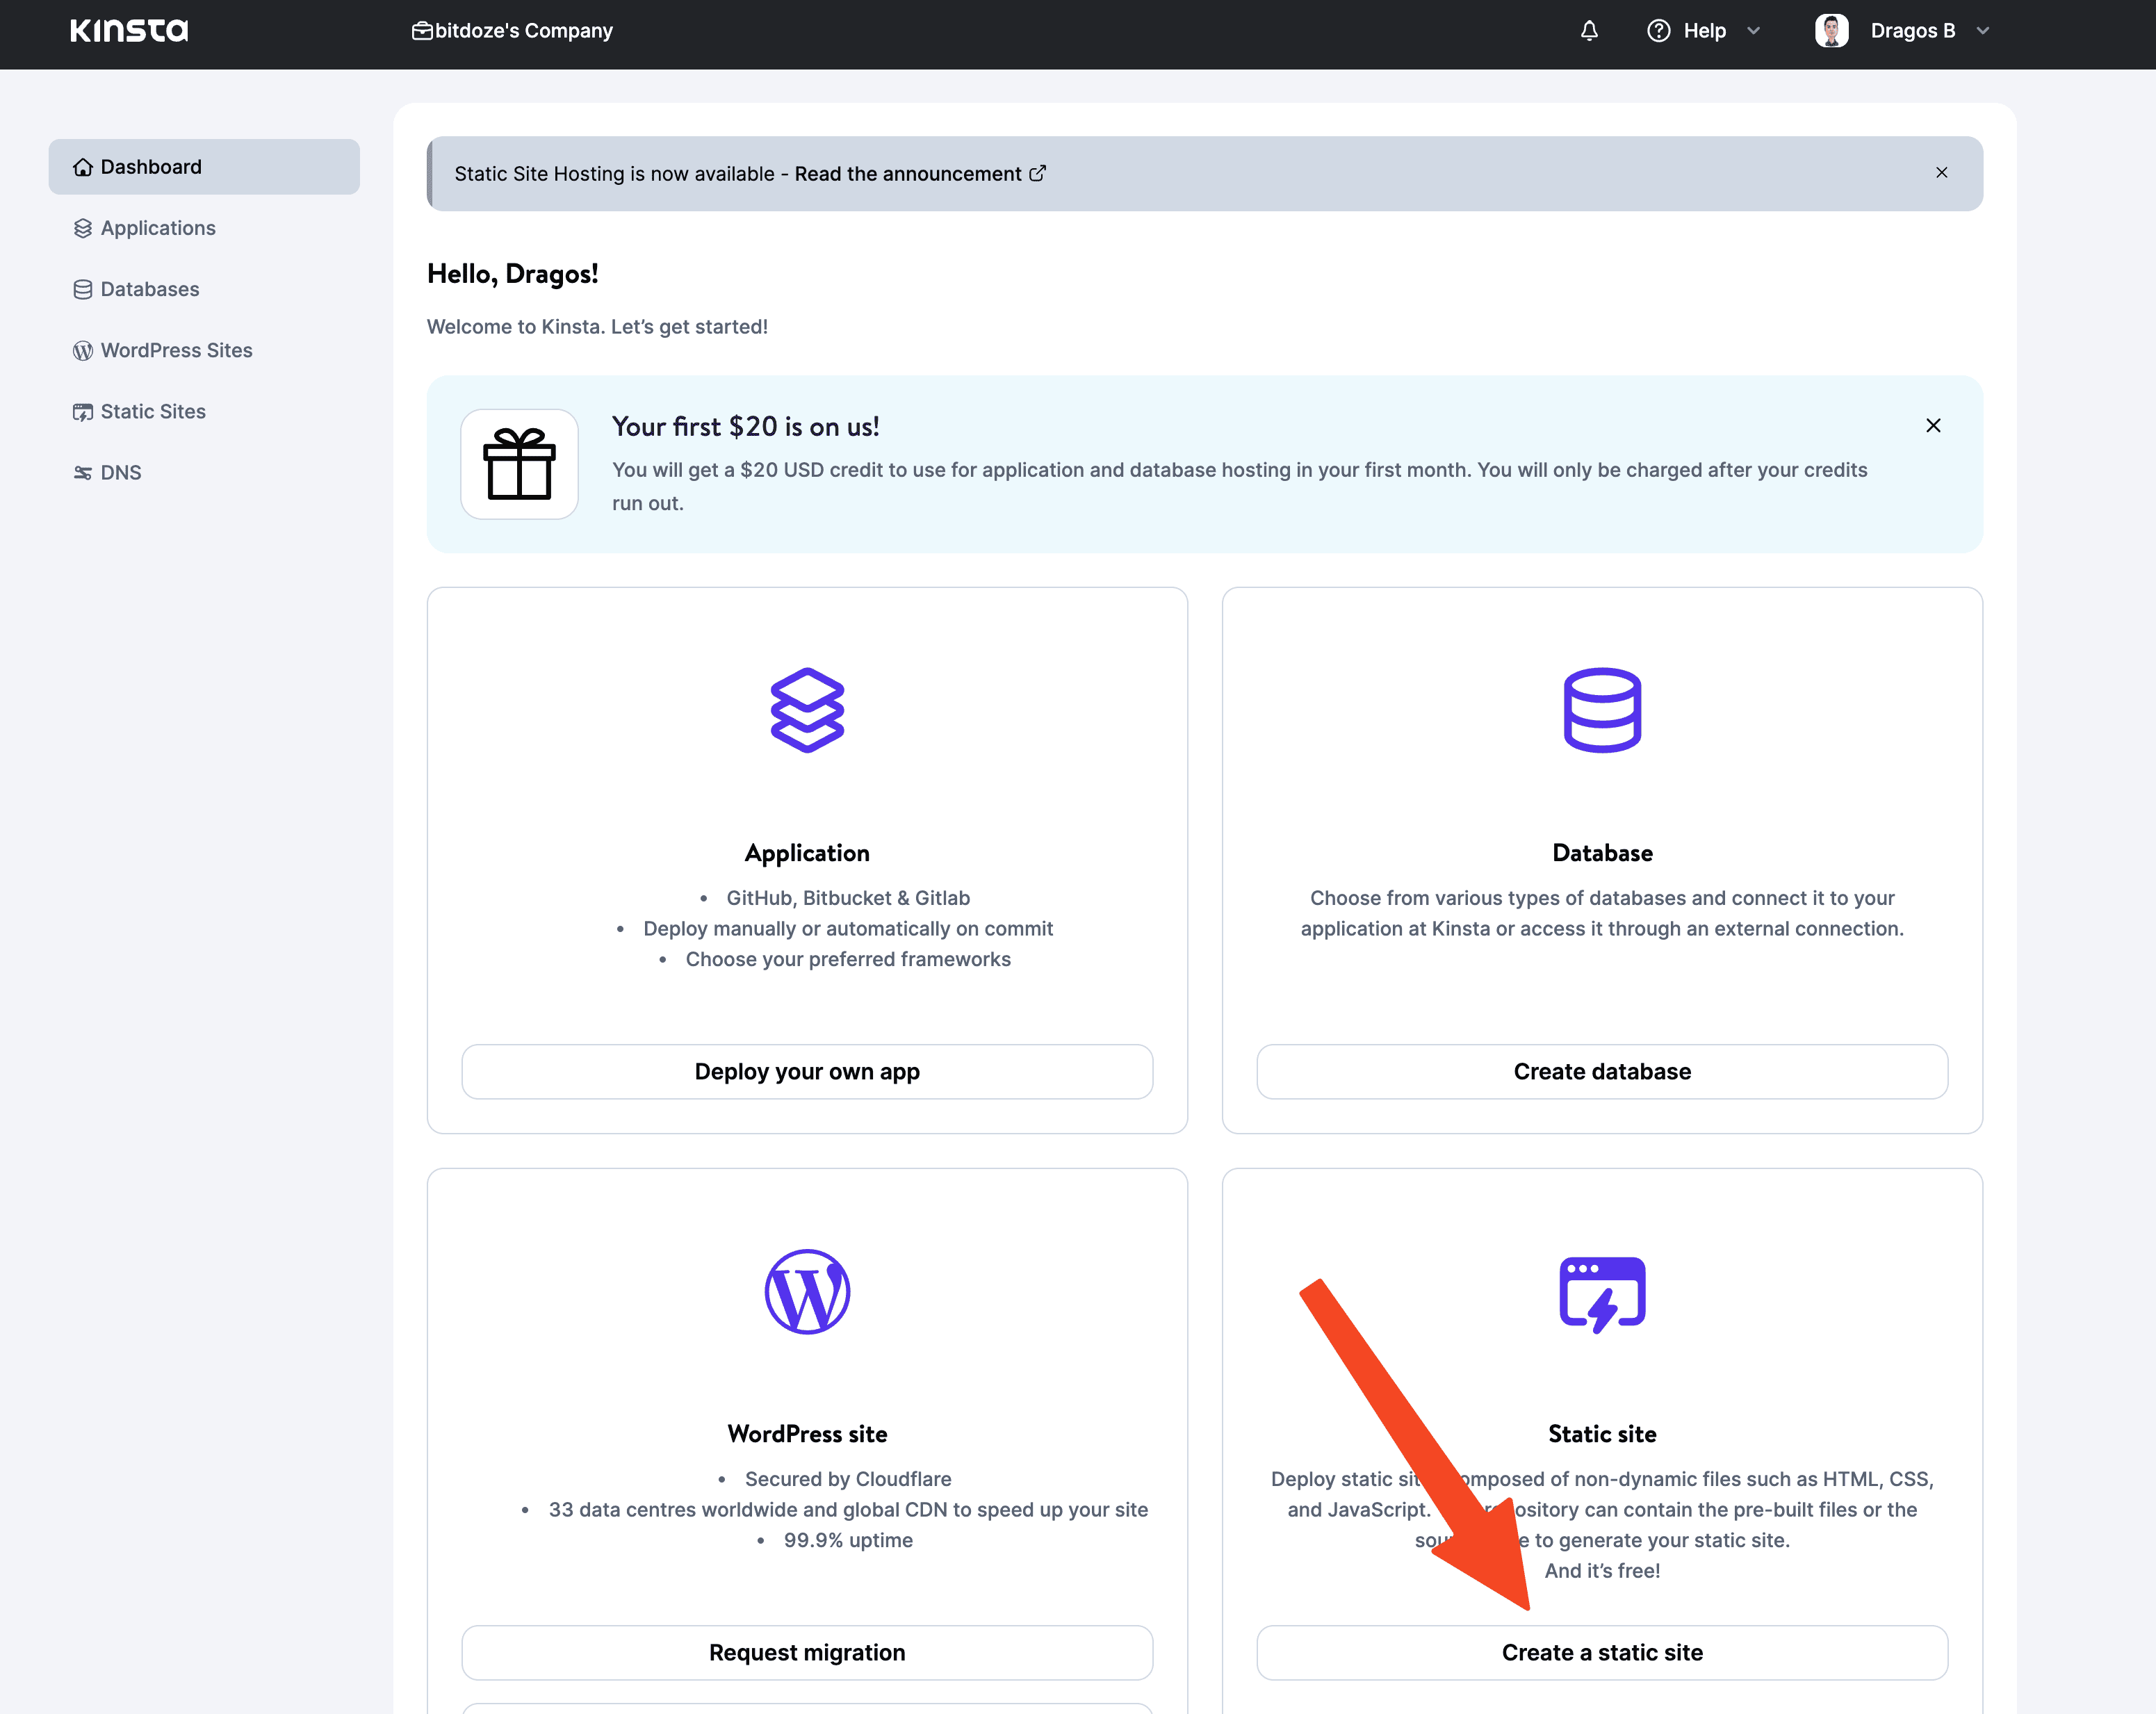
After the repo is created you can go and link it to Kinsta Static websites, if you don’t have an account to Kinsta you can create one for free with the GitHub credentials.
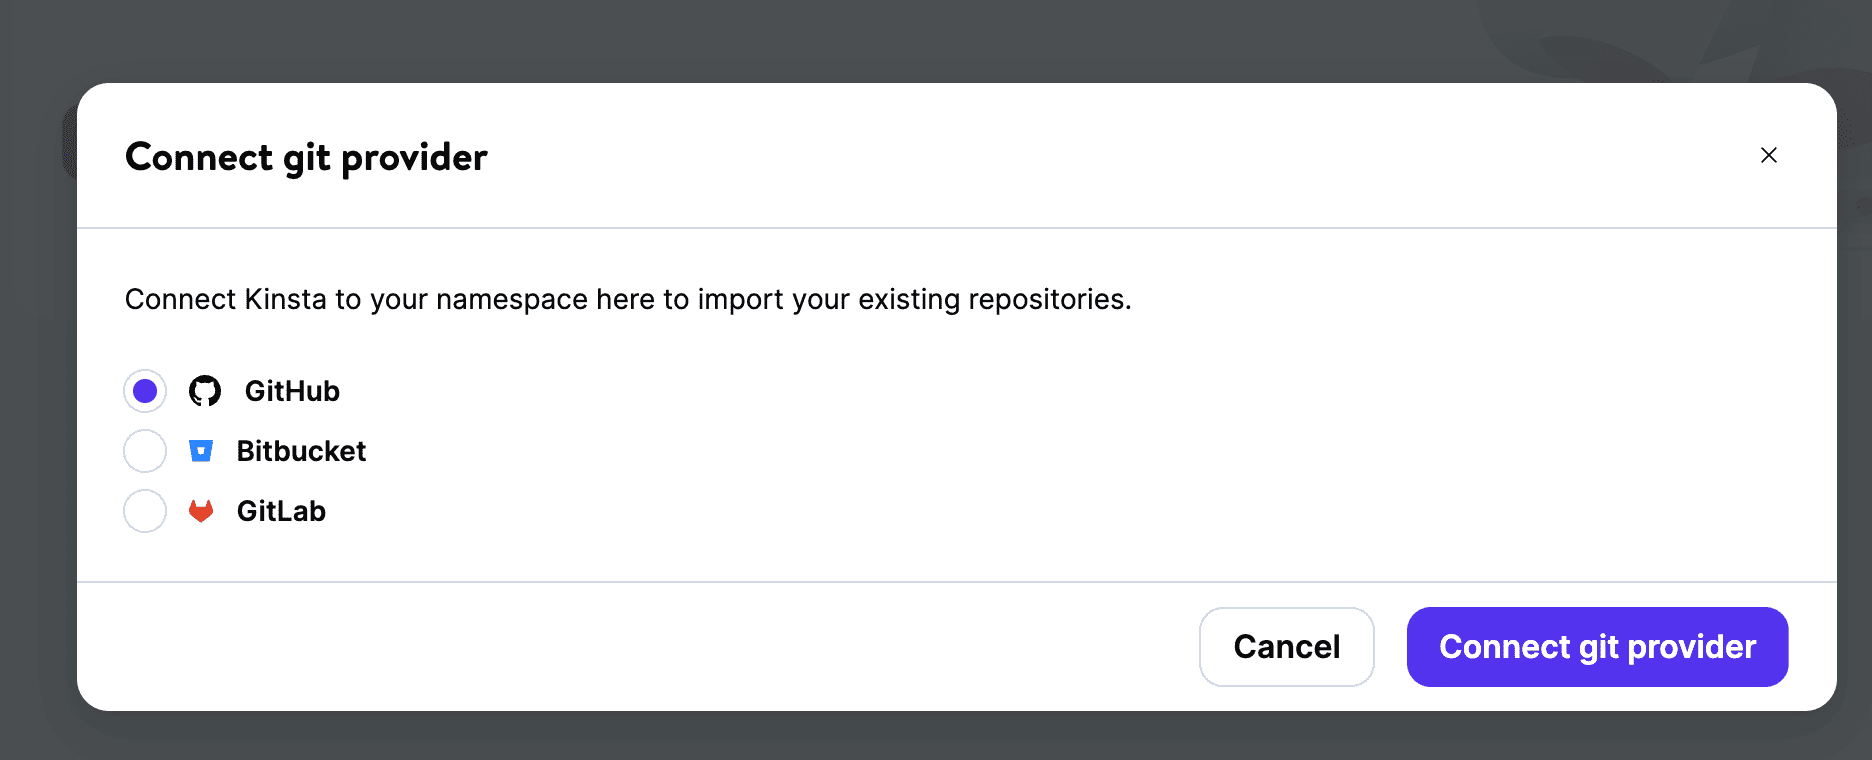
After you choose the git provider, in my case Github:
Now you need to authorize github and connect te repo and branch, choose “Automatic deployments on commit.”
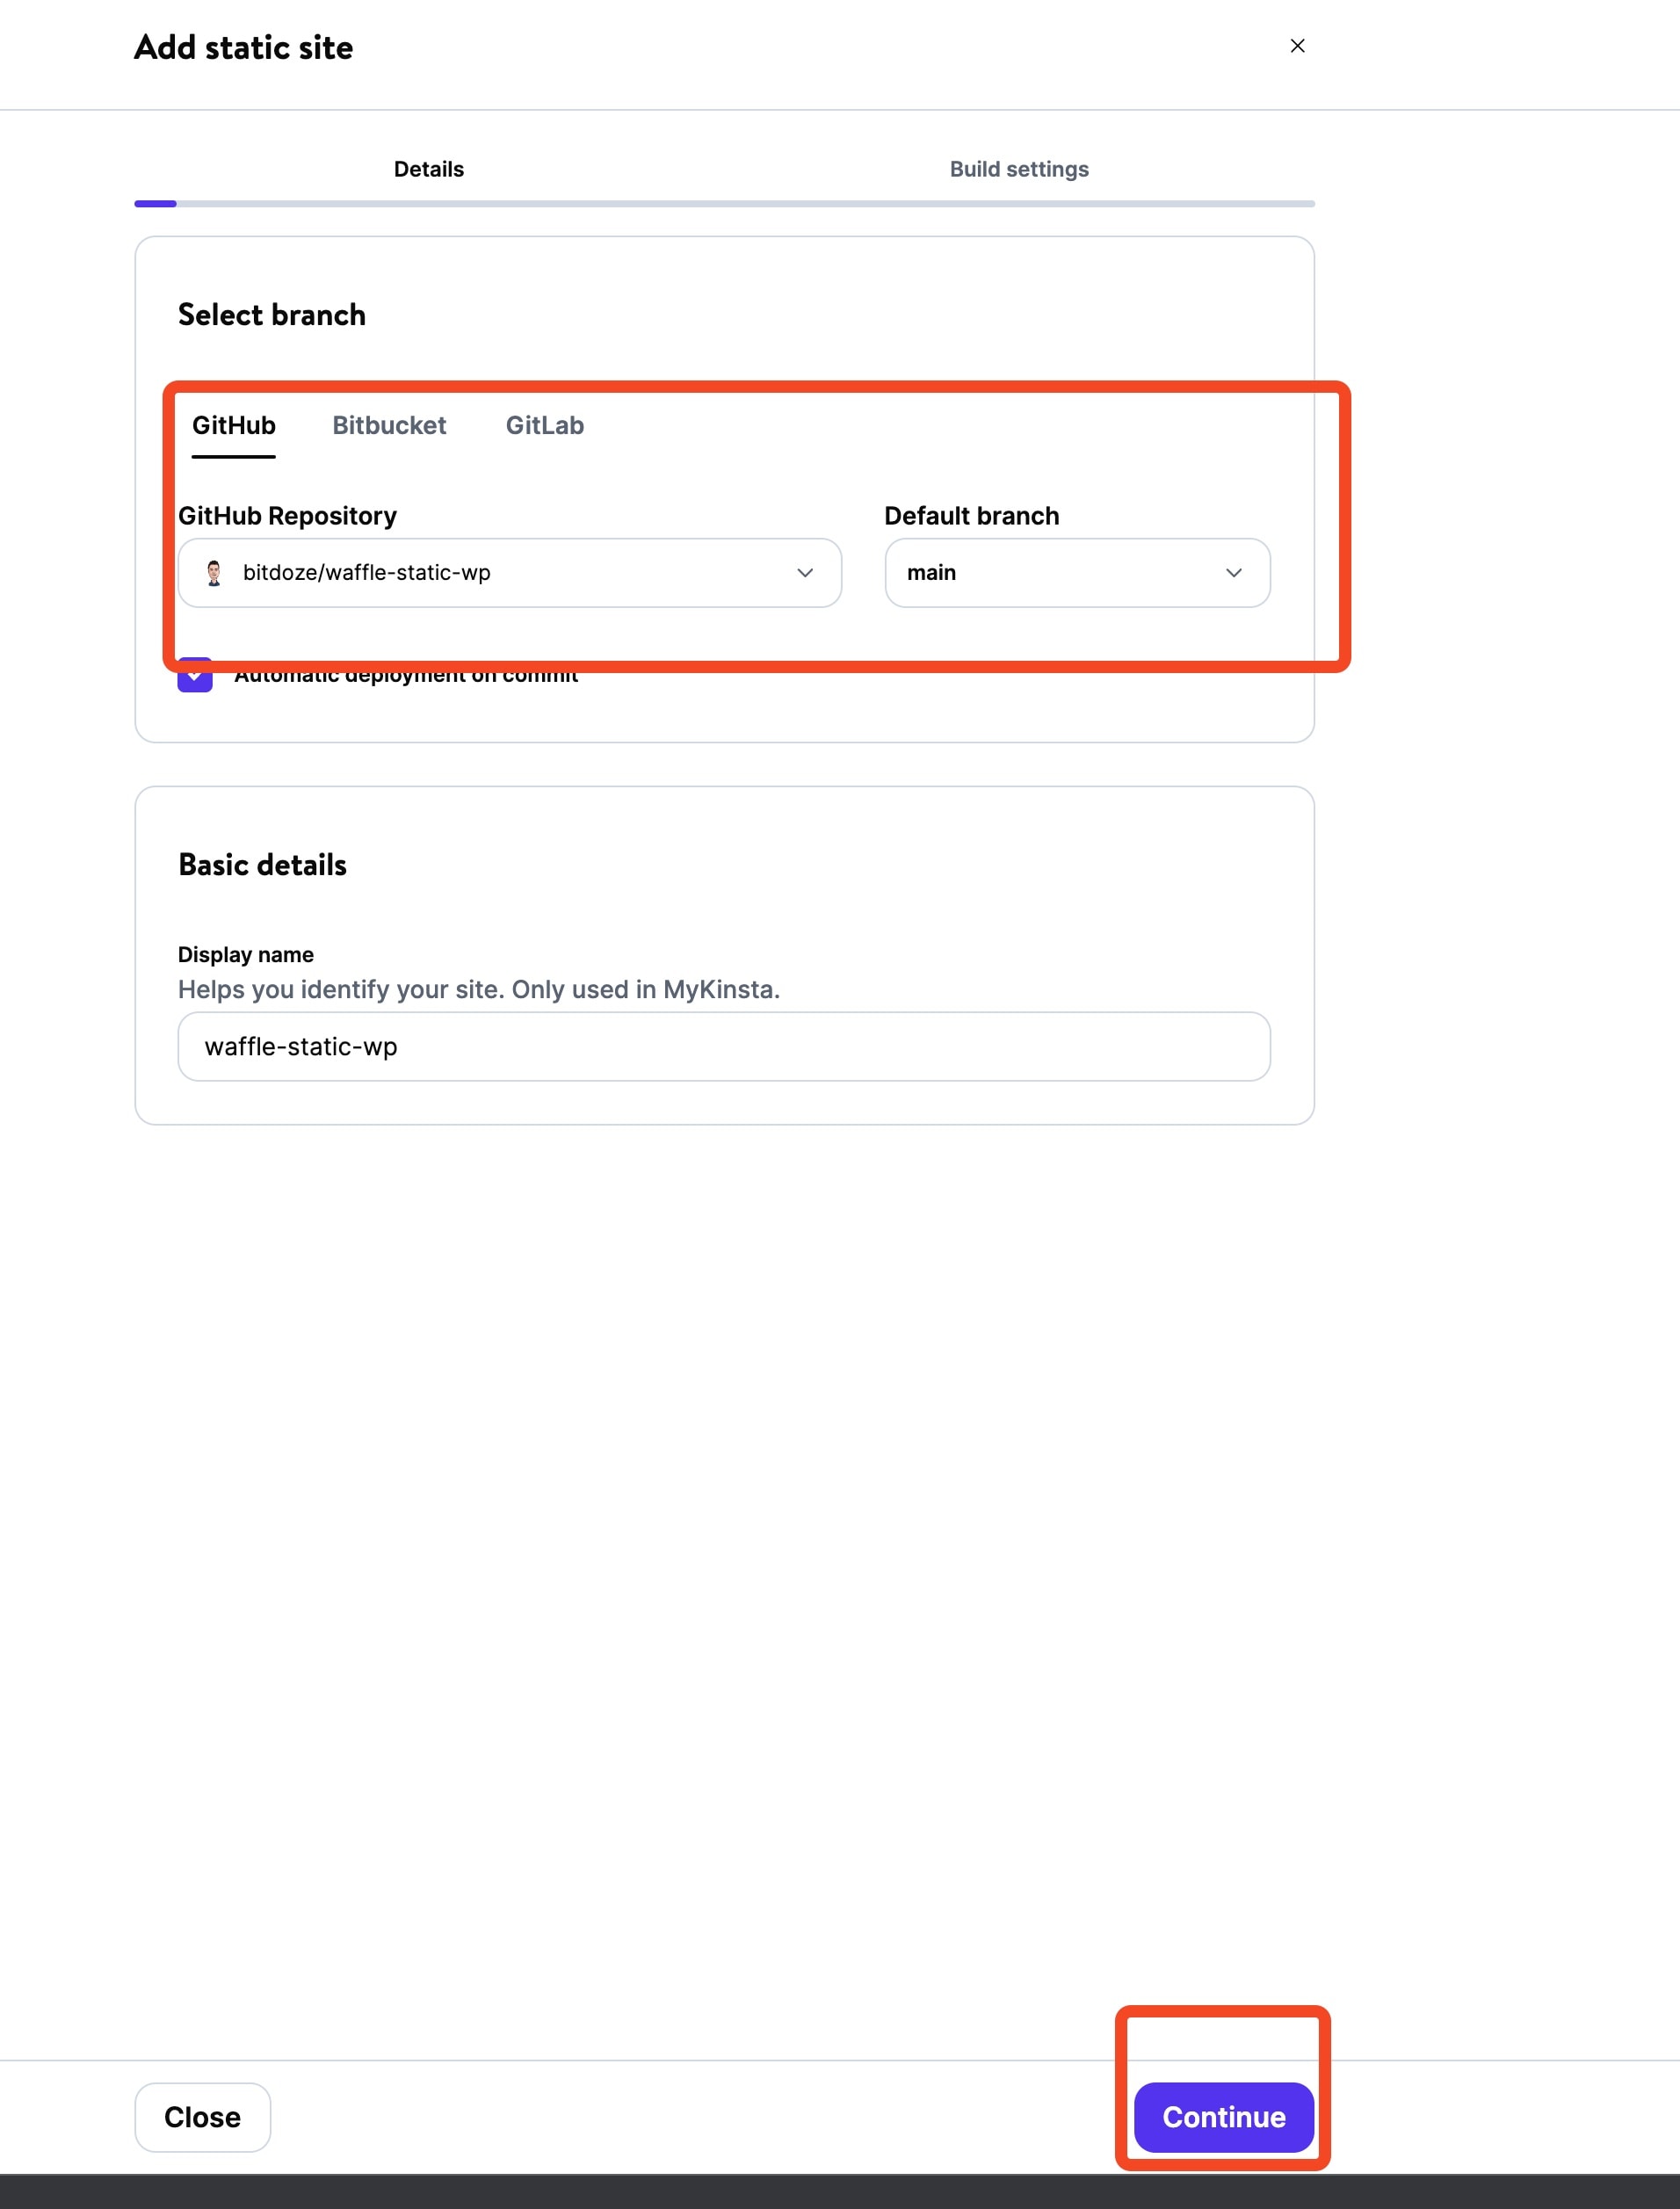
Let the build settings blank and hit create site:
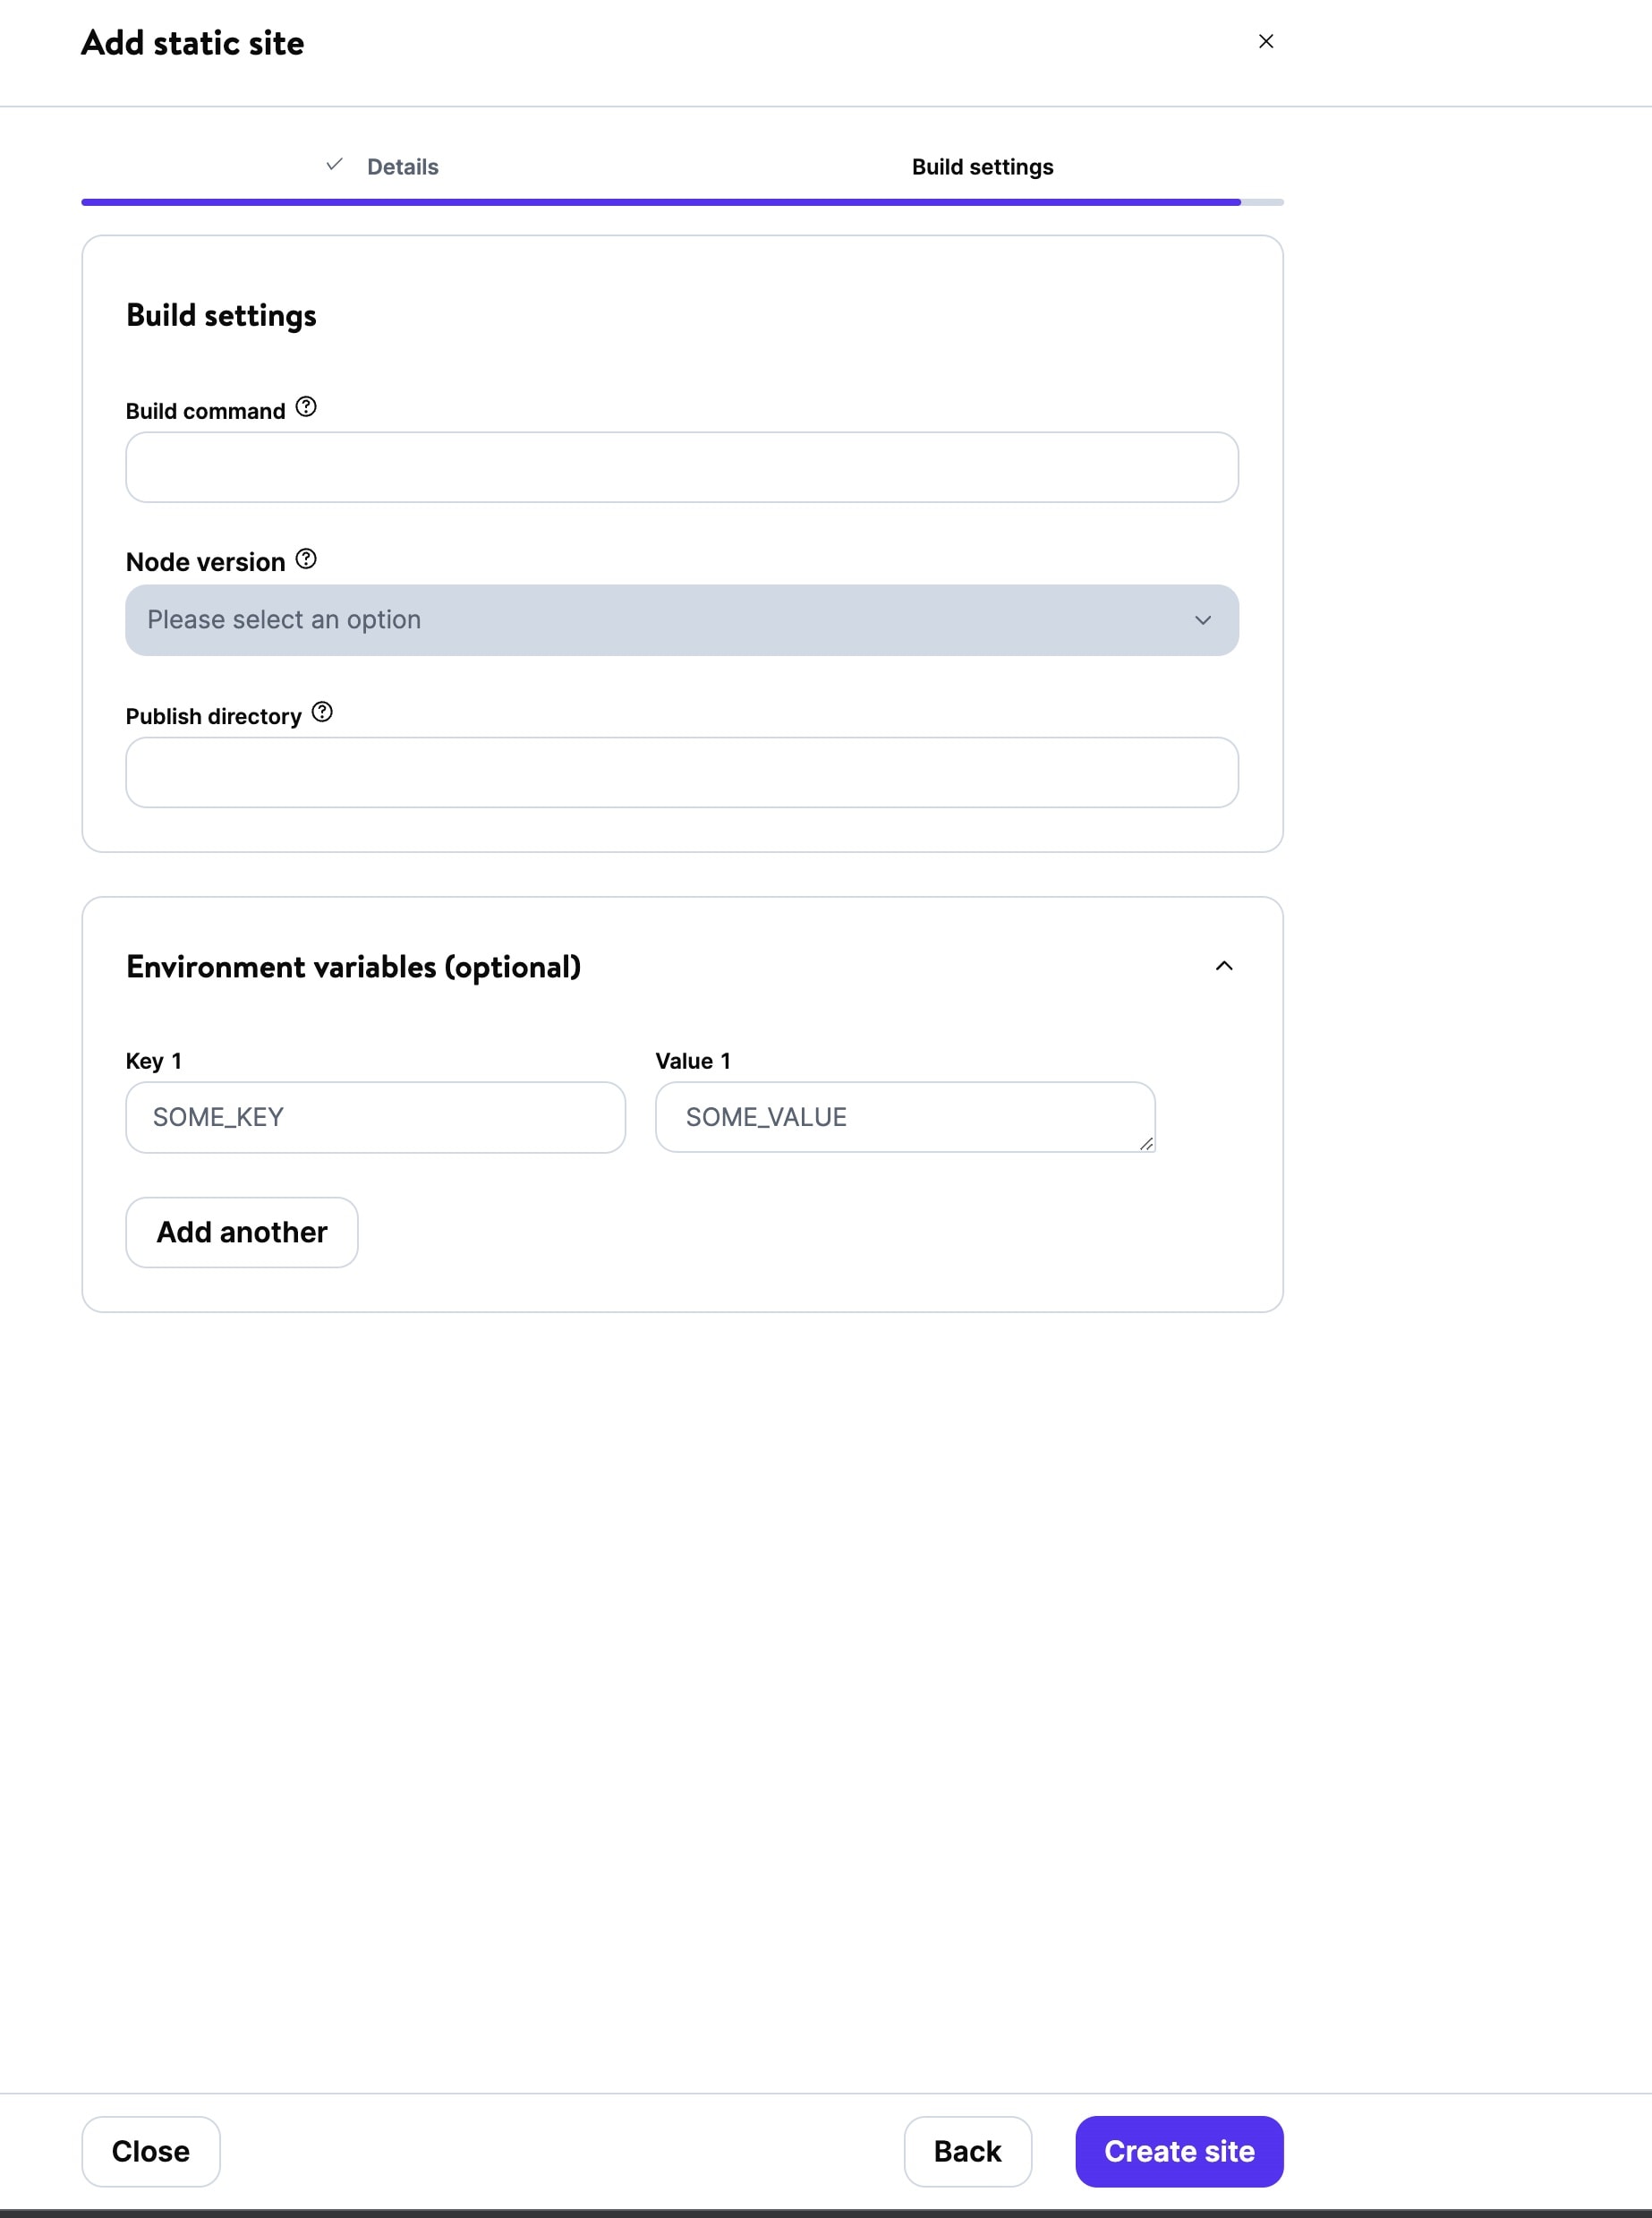
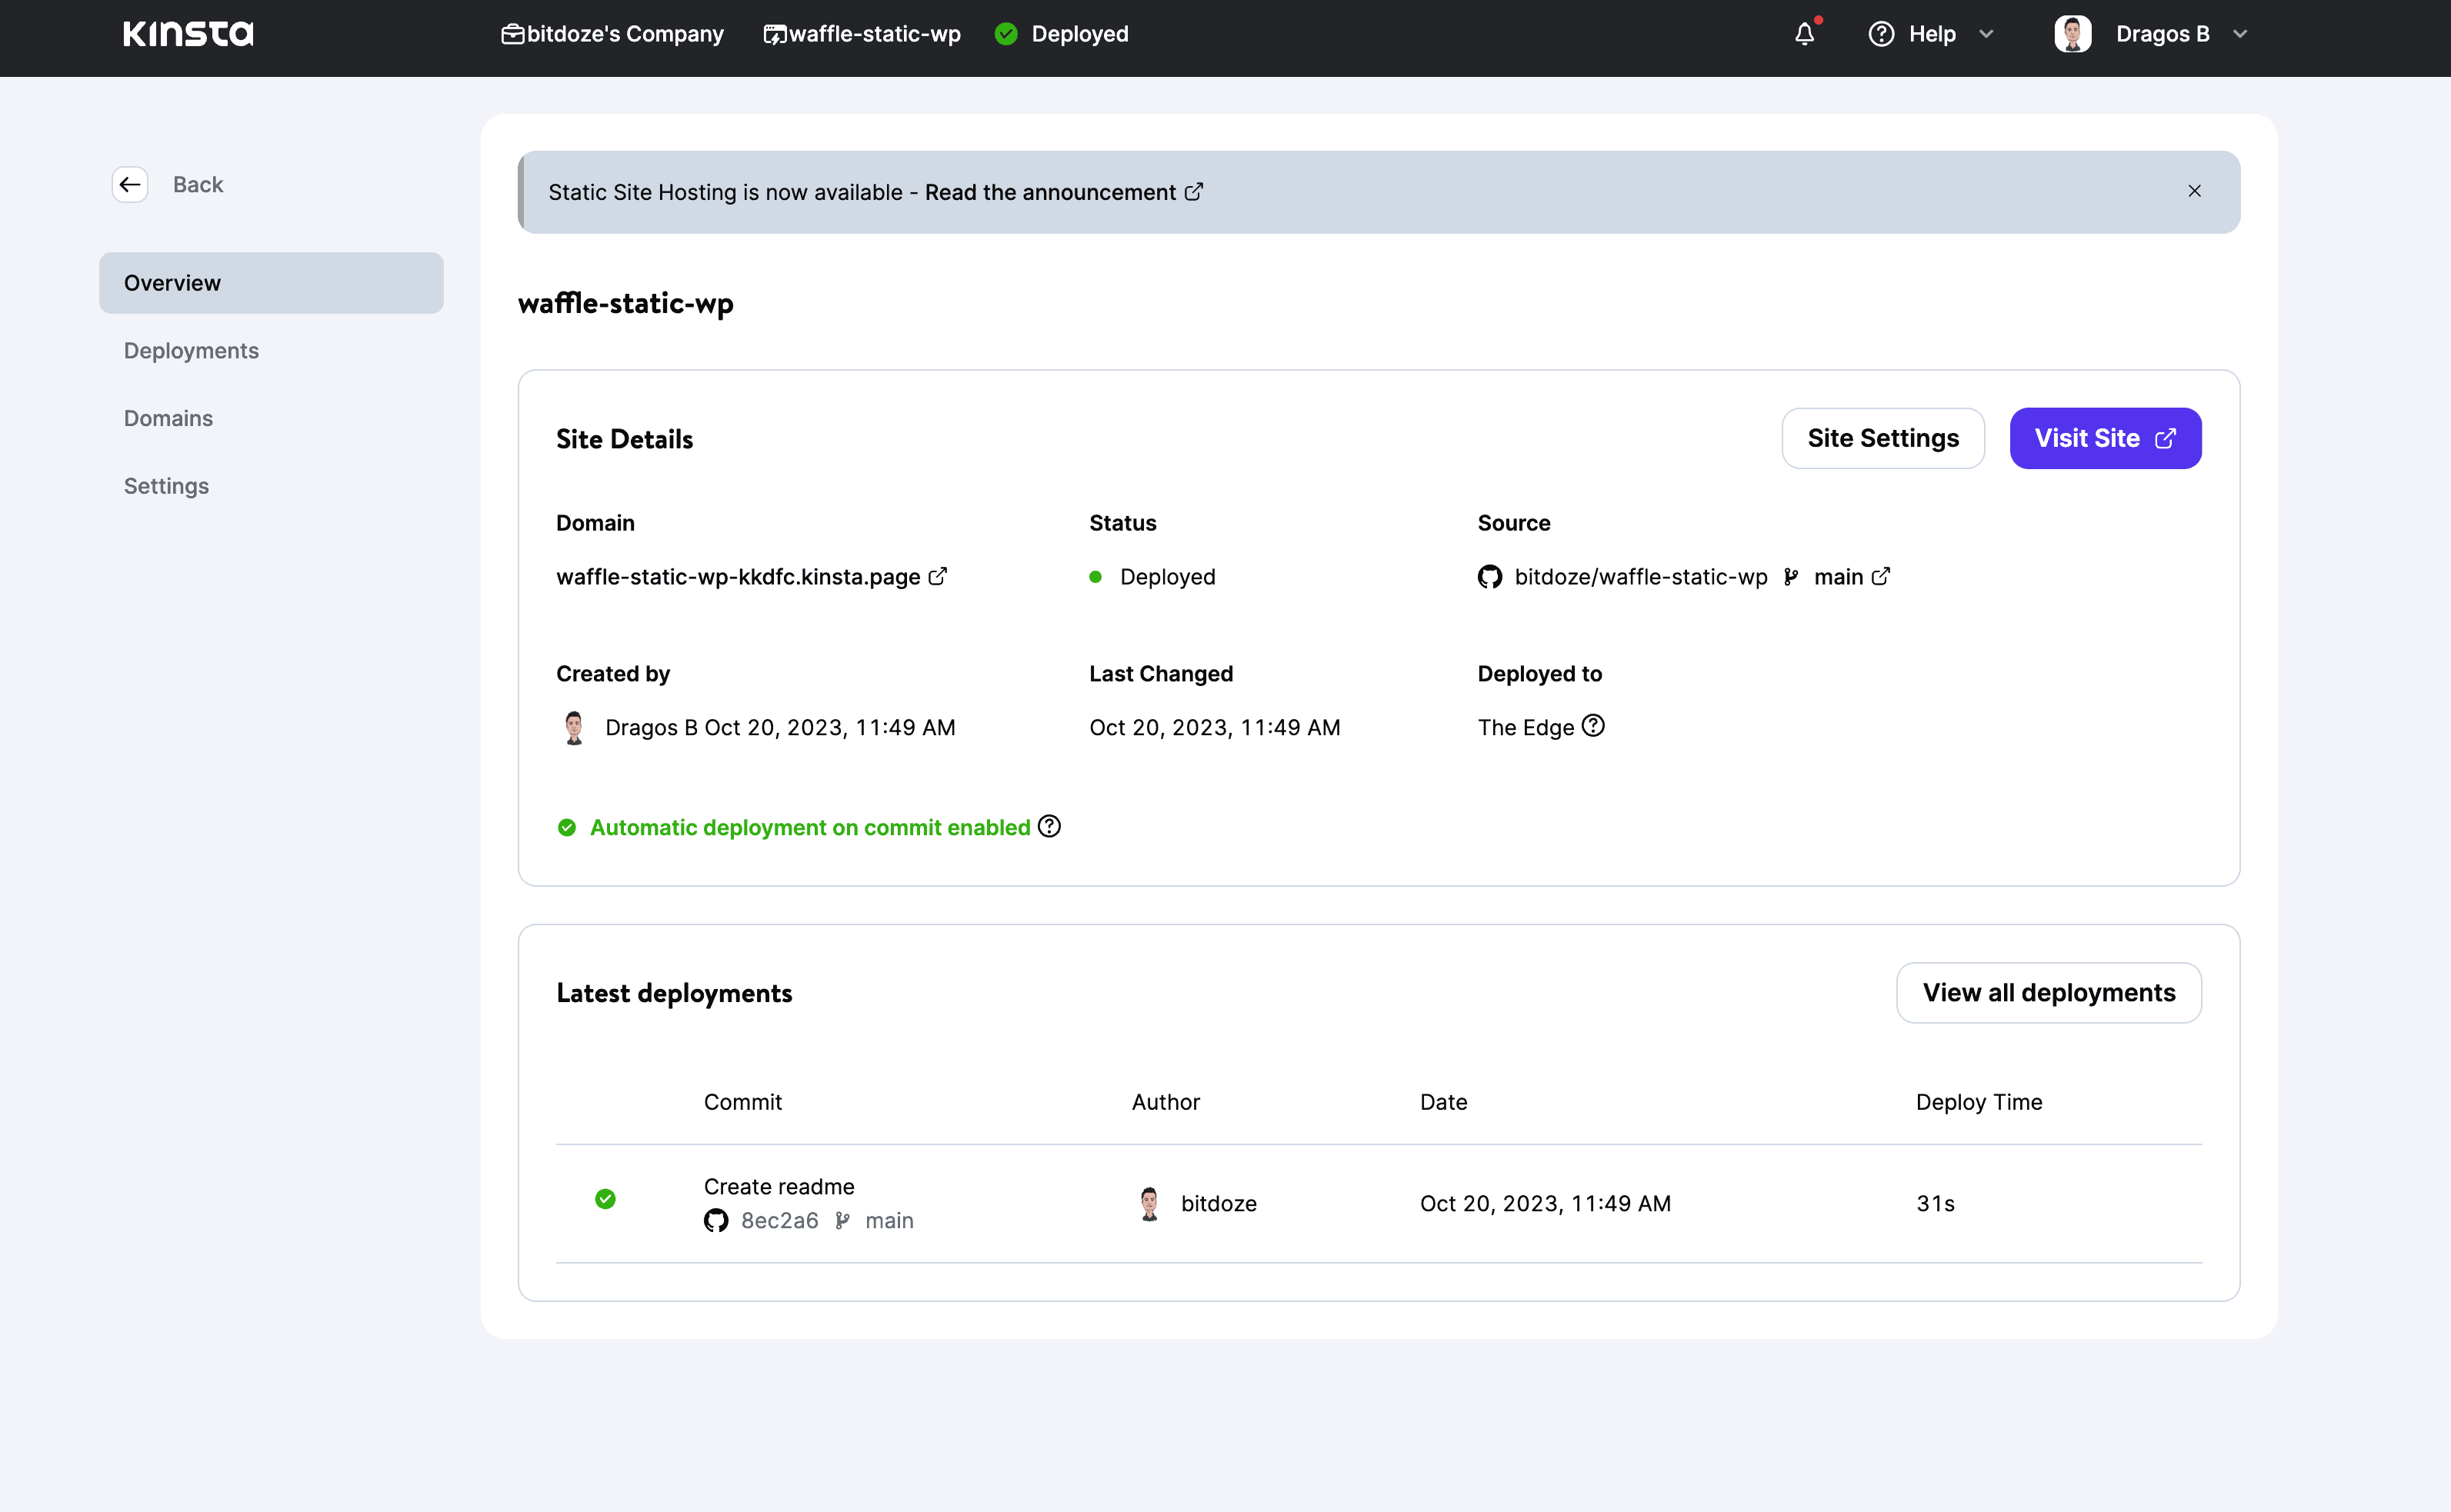
After you should have something as bellow:
Now as we have the repo ready and we have it connected to GitHub we will need to convert our WordPress website to a static one. To do this we have a couple of plugins but we are going to use WordPress Simply Static plugin (free version)
In this section we are going to create a static path where website is hosted and add our repo in there so we can commit everything easily and push it to GitHub
Bellow are 2 tutorials that can help you link your repo to github:
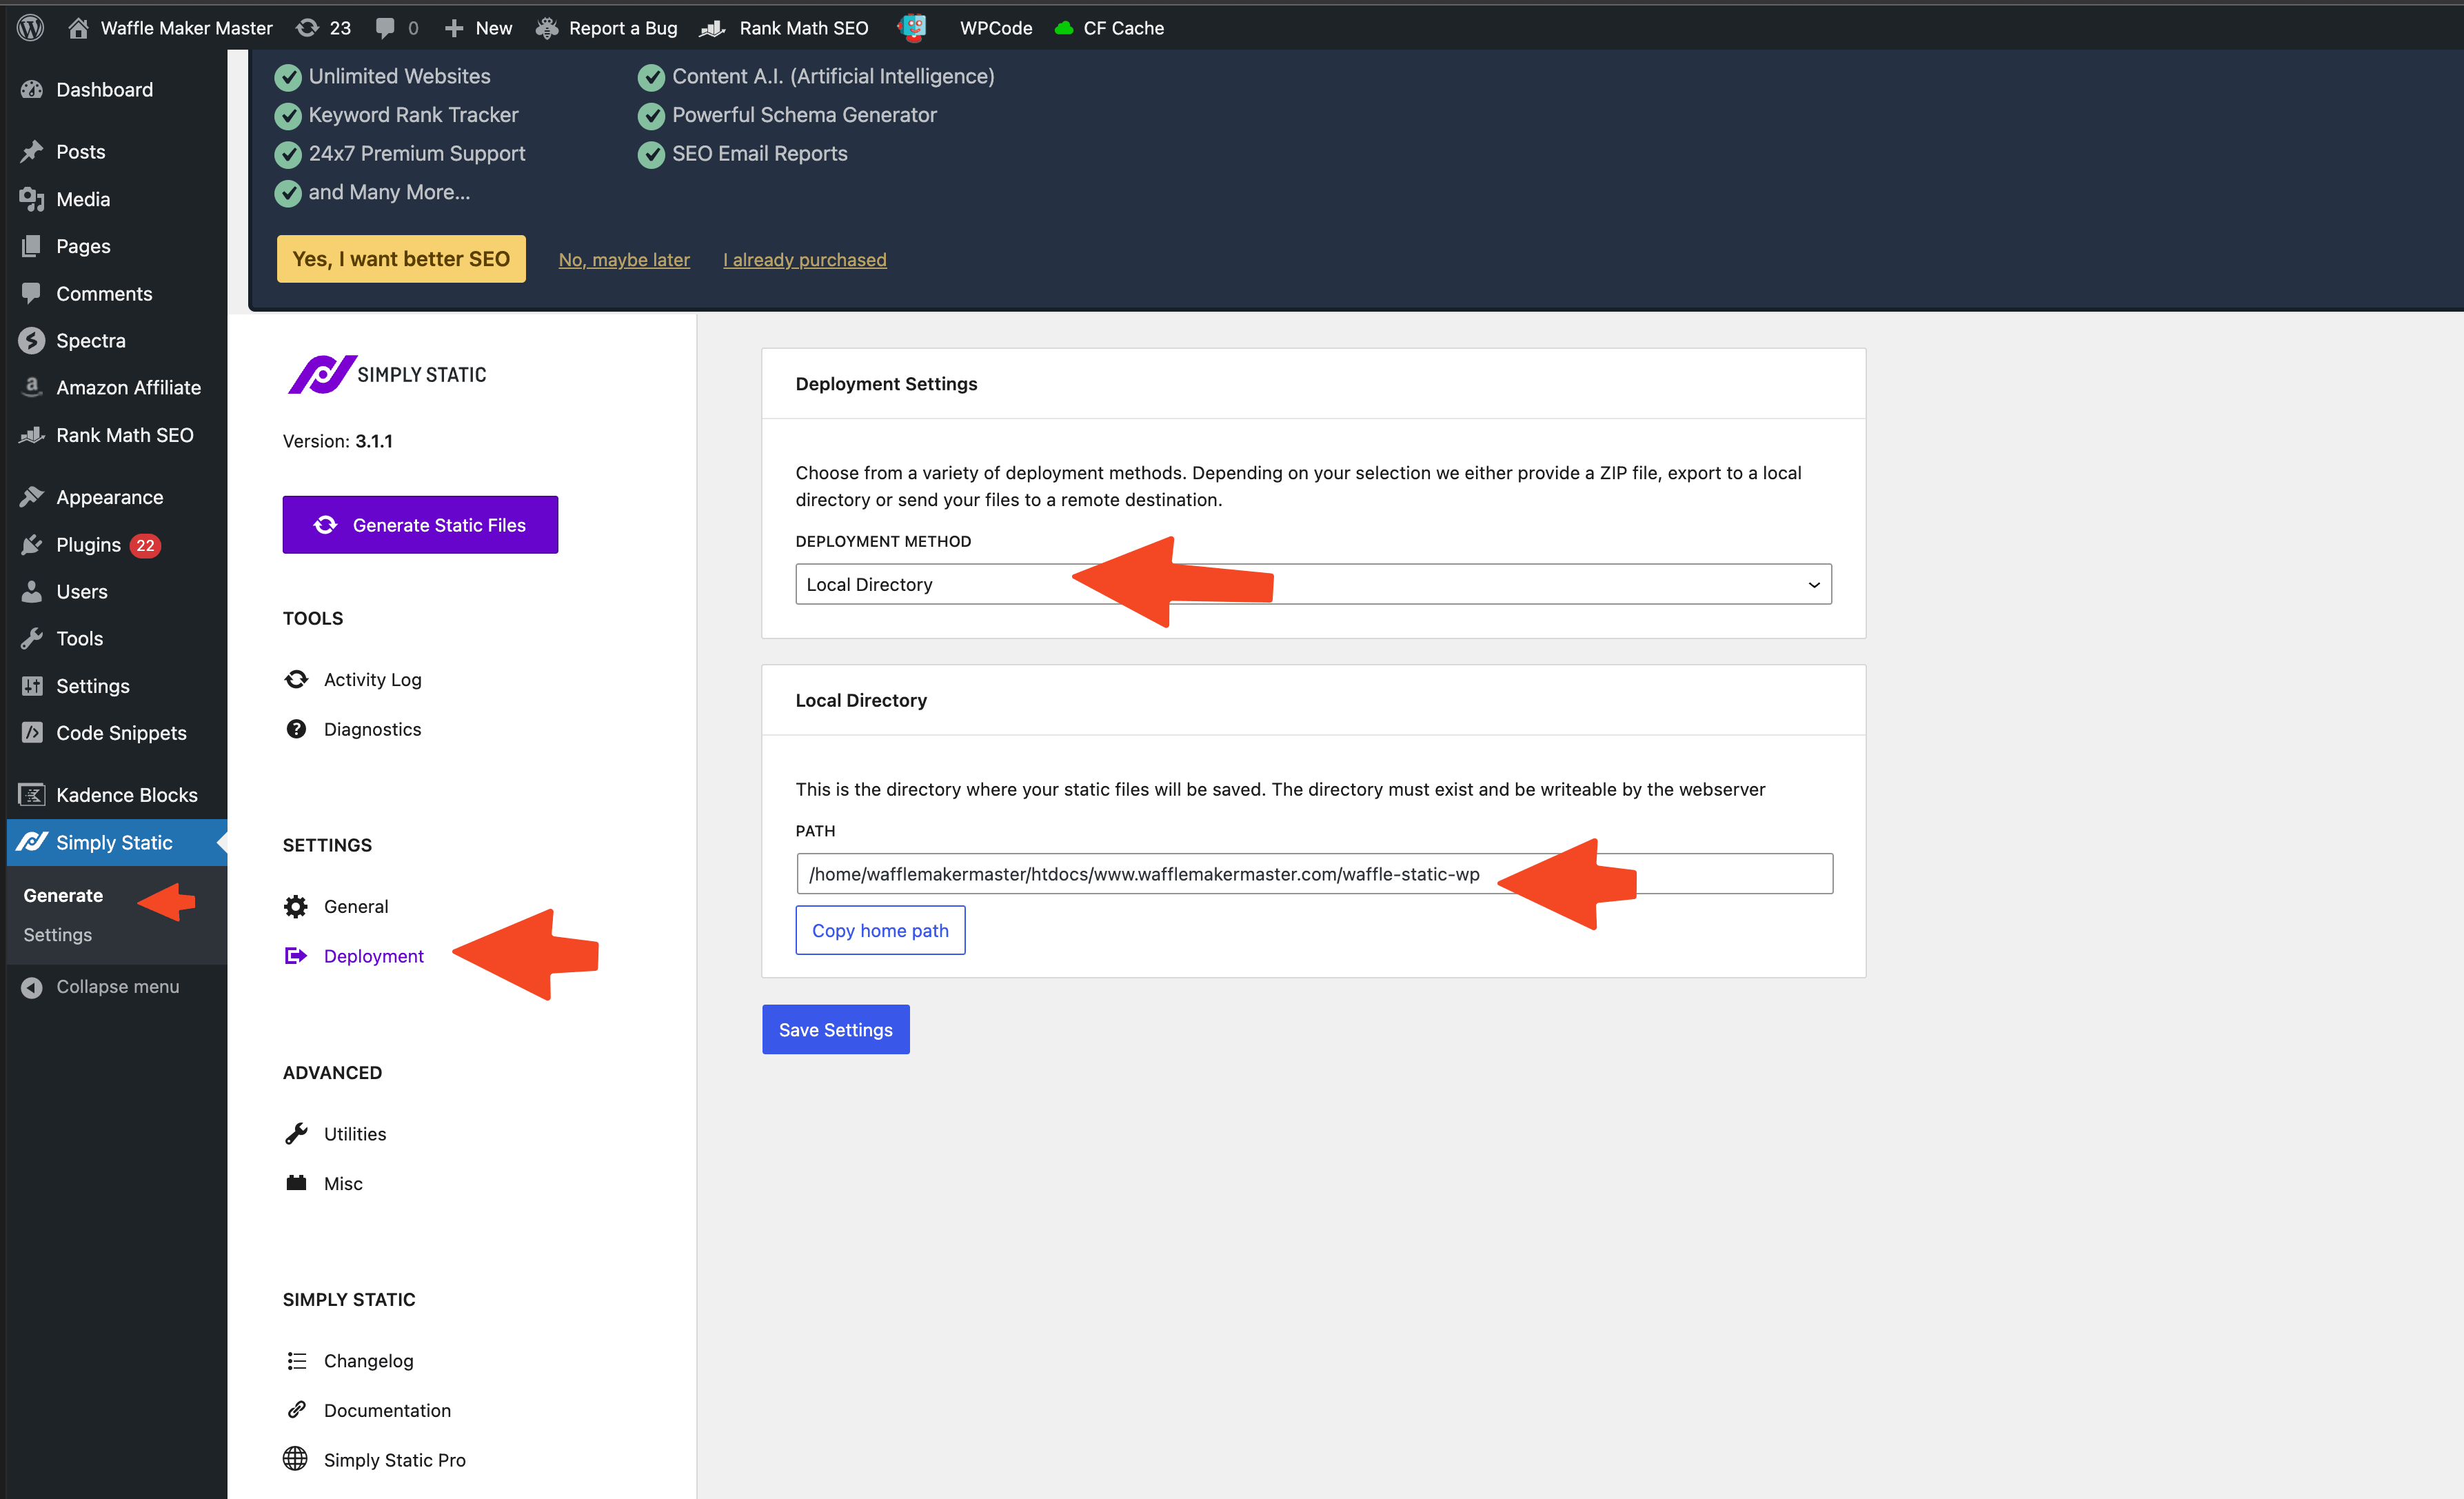
git clone [email protected]:bitdoze/waffle-static-wp.gitFirst we should go and install our plugin from the plugin repository, then we should go under Deployment and choose Local Directory, this will create the static files under the patch in there, we should have the path created in the website so WordPress simply static to access it:
Then hit the Generate static files.
Now the files are created and we need to push them in the repo:
dragos@Dragoss-Air waffle-static-wp % pwd
/Users/dragos/Local Sites/my-static-wp/app/public/waffle-static-wp
dragos@Dragoss-Air waffle-static-wp % ls -ltr
total 448
-rw-r--r--  1 dragos  staff      33 Oct 20 12:57 readme
-rw-r--r--@ 1 dragos  staff  224843 Oct 20 12:57 index.html
drwxr-xr-x@ 3 dragos  staff      96 Oct 20 12:57 features
drwxr-xr-x@ 3 dragos  staff      96 Oct 20 12:57 pricing
drwxr-xr-x@ 3 dragos  staff      96 Oct 20 12:57 dashboard
drwxr-xr-x@ 3 dragos  staff      96 Oct 20 12:57 services
drwxr-xr-x@ 3 dragos  staff      96 Oct 20 12:57 support-faq
drwxr-xr-x@ 3 dragos  staff      96 Oct 20 12:57 contact
drwxr-xr-x@ 3 dragos  staff      96 Oct 20 12:57 feed
drwxr-xr-x@ 3 dragos  staff      96 Oct 20 12:57 comments
drwxr-xr-x@ 5 dragos  staff     160 Oct 20 12:57 wp-content
drwxr-xr-x@ 4 dragos  staff     128 Oct 20 12:57 wp-json
drwxr-xr-x@ 8 dragos  staff     256 Oct 20 12:57 category
drwxr-xr-x@ 4 dragos  staff     128 Oct 20 12:57 blog
drwxr-xr-x@ 4 dragos  staff     128 Oct 20 12:57 wp-includes
drwxr-xr-x@ 4 dragos  staff     128 Oct 20 12:57 hello-world
drwxr-xr-x@ 4 dragos  staff     128 Oct 20 12:57 why-startups-fail-11-mistakes-founders-keep-making
drwxr-xr-x@ 4 dragos  staff     128 Oct 20 12:57 the-8-step-process-we-used-to-start-a-successful-podcast
drwxr-xr-x@ 4 dragos  staff     128 Oct 20 12:57 be-remarkable-how-to-make-your-business-stand-out
drwxr-xr-x@ 4 dragos  staff     128 Oct 20 12:57 what-effect-will-ai-have-on-construction
drwxr-xr-x@ 4 dragos  staff     128 Oct 20 12:57 20-business-blogs-that-will-blow-your-mind
drwxr-xr-x@ 4 dragos  staff     128 Oct 20 12:57 the-best-saas-tools-to-boost-business-growth
drwxr-xr-x@ 4 dragos  staff     128 Oct 20 12:57 want-to-grow-your-business-you-need-a-growth-strategy
drwxr-xr-x@ 4 dragos  staff     128 Oct 20 12:57 tools-and-tips-to-successfully-organize-your-small-business
drwxr-xr-x@ 4 dragos  staff     128 Oct 20 12:57 writing-a-business-case-what-it-is-and-how-to-write
drwxr-xr-x@ 4 dragos  staff     128 Oct 20 12:57 5-stages-of-team-development-what-you-need-to-know
Commands:
git add .
git commit -m "static content"
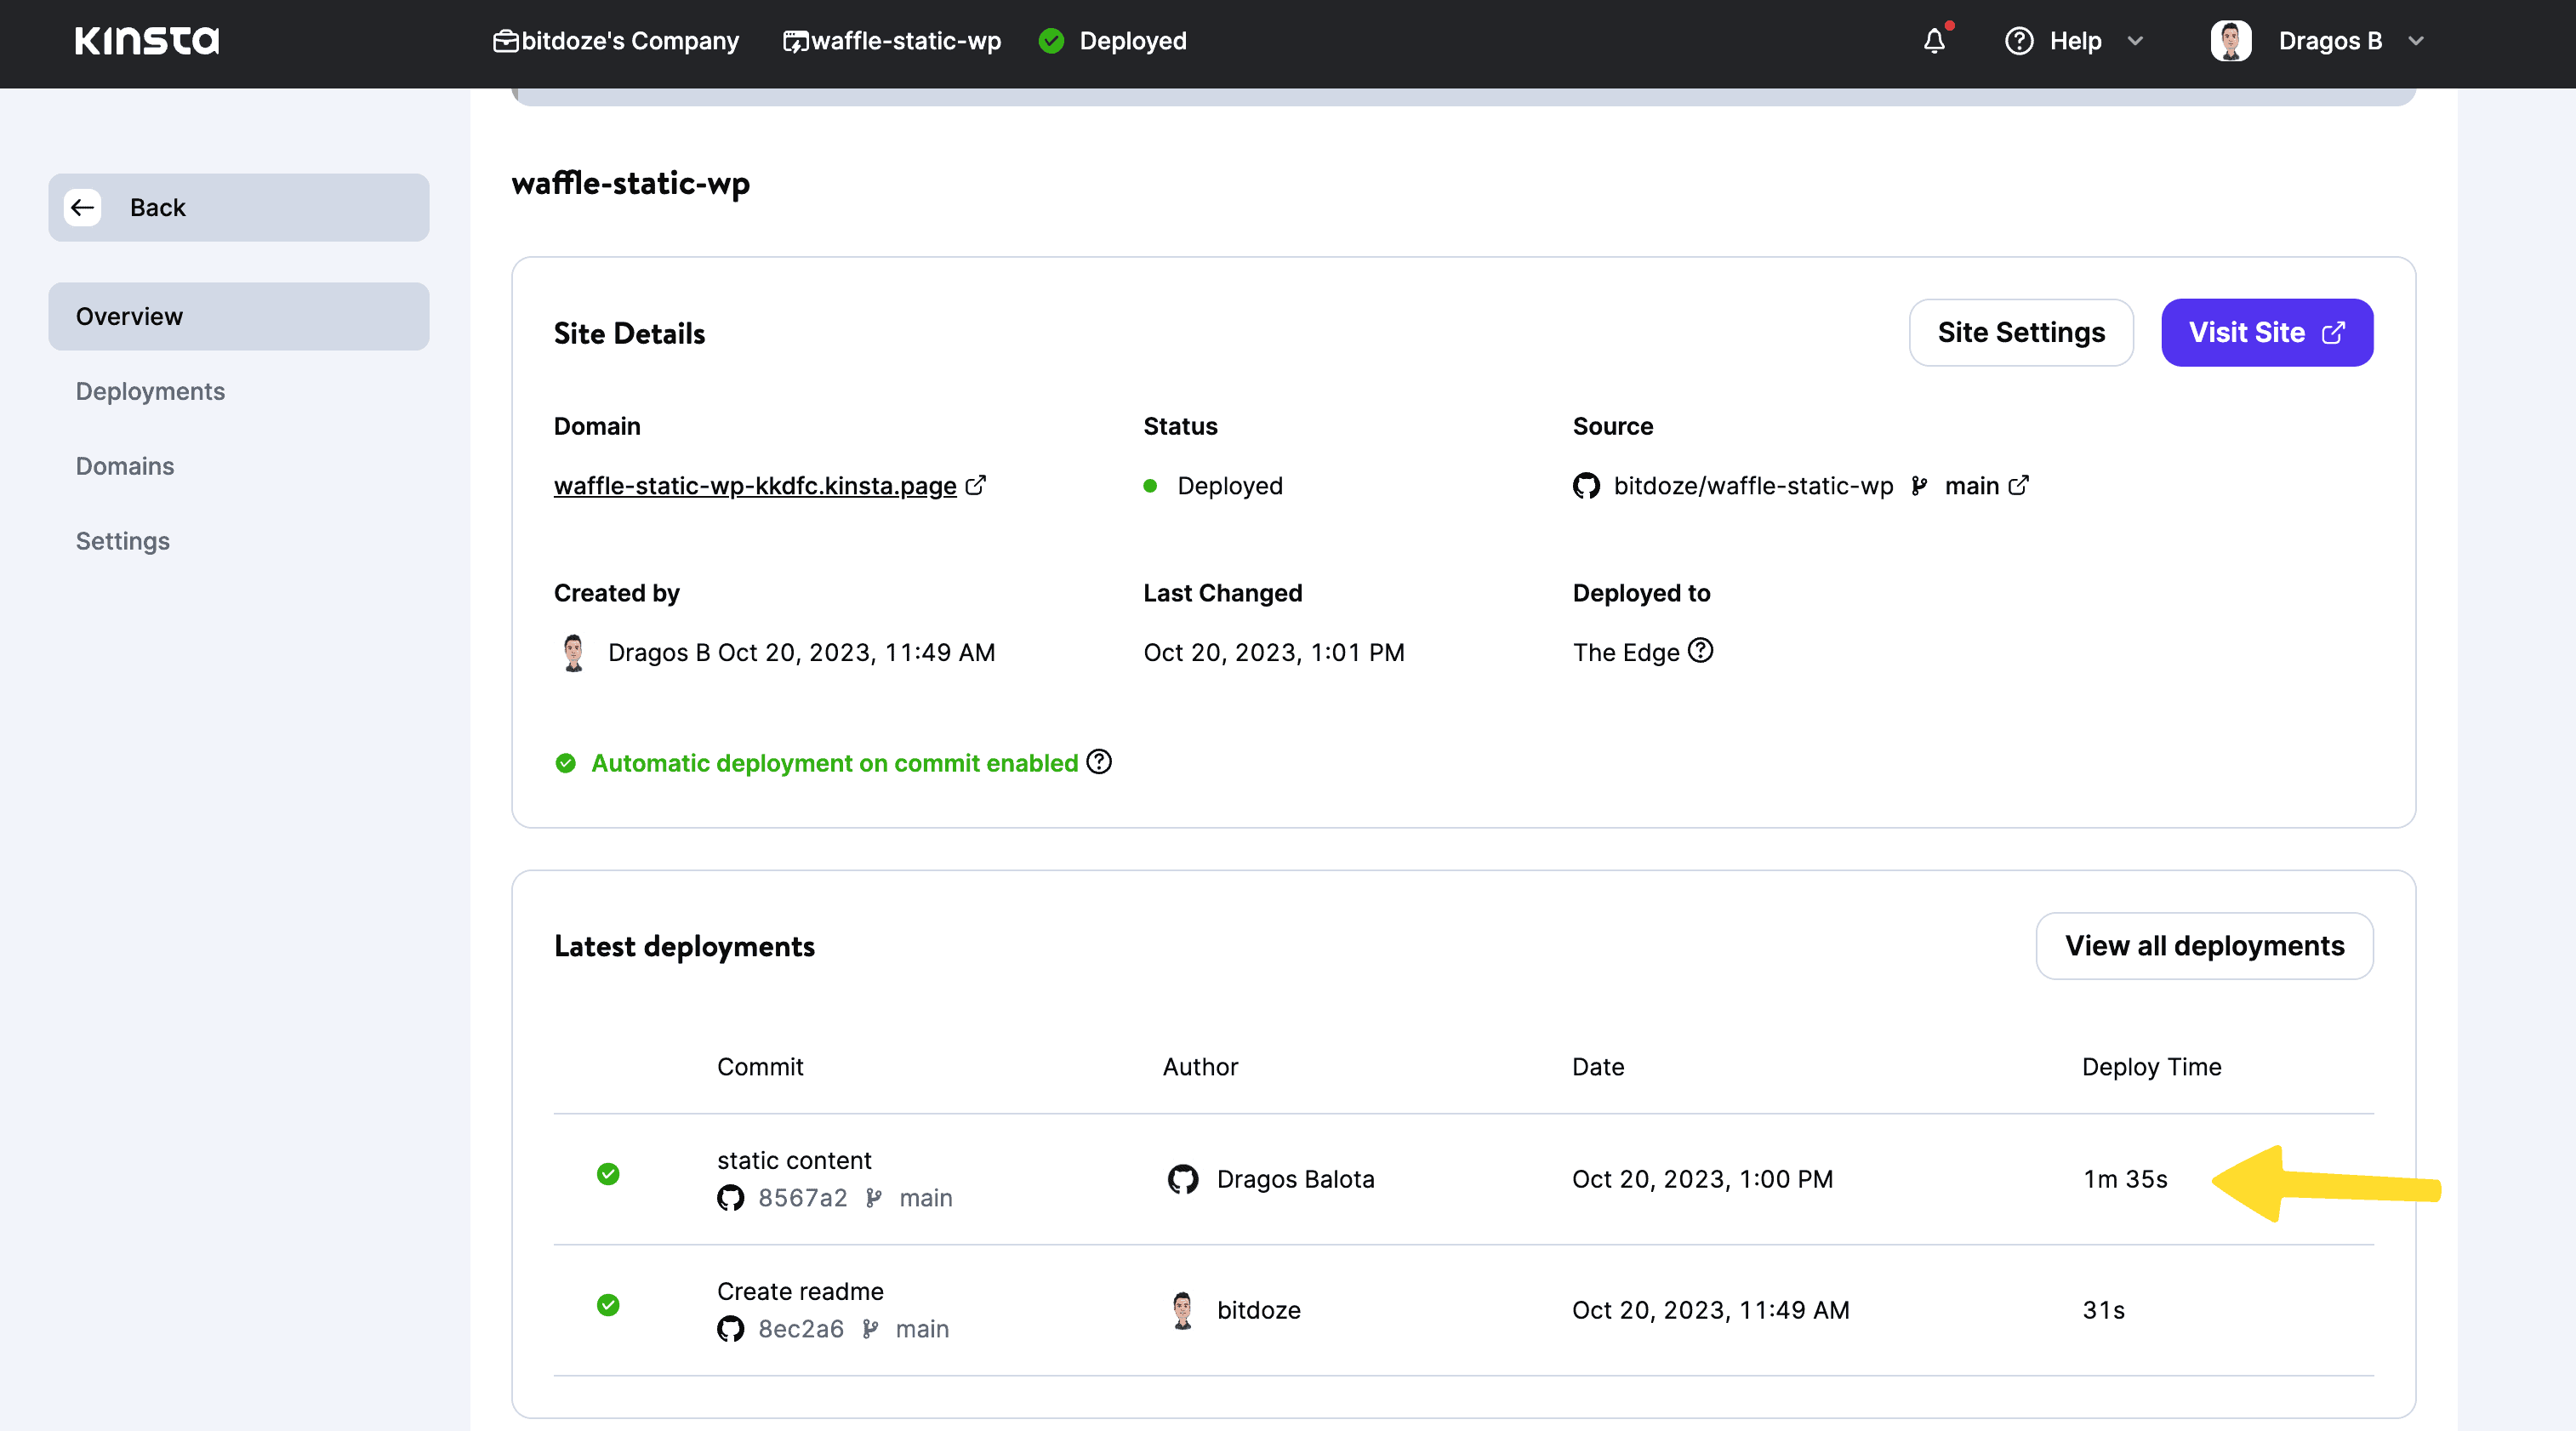
git push --force -u origin mainNow if we check we should see that the repo has all the files and the website is deployed as a static one on the repo and the kinsta will pick it up automatically:
Now you are ready to go and check the website.
If you want to add a new post you will need to add it in the local website and the generate again the static website. After you go again and add the repo:
git add .
git commit -m "static content"
git push --force -u origin mainThis is all you need to do, now your can add your domain and you are set, you don’t need to do any maintenance to your static website and be concerned about security. Kinsta static websites and a local WordPress installation can help you have a free WordPress website.