
Kadence Blocks is in beta right now and has a lot of nice things, I have decided to start using it and design a box that I really like and can be used to promote your services, plugins, courses, or affiliate products across your website.
Most plugins offer these options but in this tutorial, we will use Kadence Blocks 3 the free plugin to create a nice box as the below one:

You can customize it to look as you like with all the colors you want. The box can be inserted automatically in the posts with the pro themes with hooked elements. In this article, we are going to use the Kadence PRO theme to add the box in all the posts after the first paragraphs.
Let’s go and see all that needs to be done and create the box and enable it on all the posts.
You need to go to Appearance – Kadence – Elements and add a new Content Section element. This will allow you to create the element that can be enabled in all the posts or custom posts you may have. The video has a detailed description if you need more on how you can create this element.
Now we are going to create the box it will have a header and a text area with a CTA button and on the right an image with the product. To do this we are going to use the elements in the below picture:

The above are just Kadence Blocks elements that can be added in the box so we are going to use a Row Element with 2 columns where we have all, 2 advanced text areas for the title and for paragraph, a button in the first column, and an advance image in the second column.
The most important setting will be on the row layout that will have the color and other things:
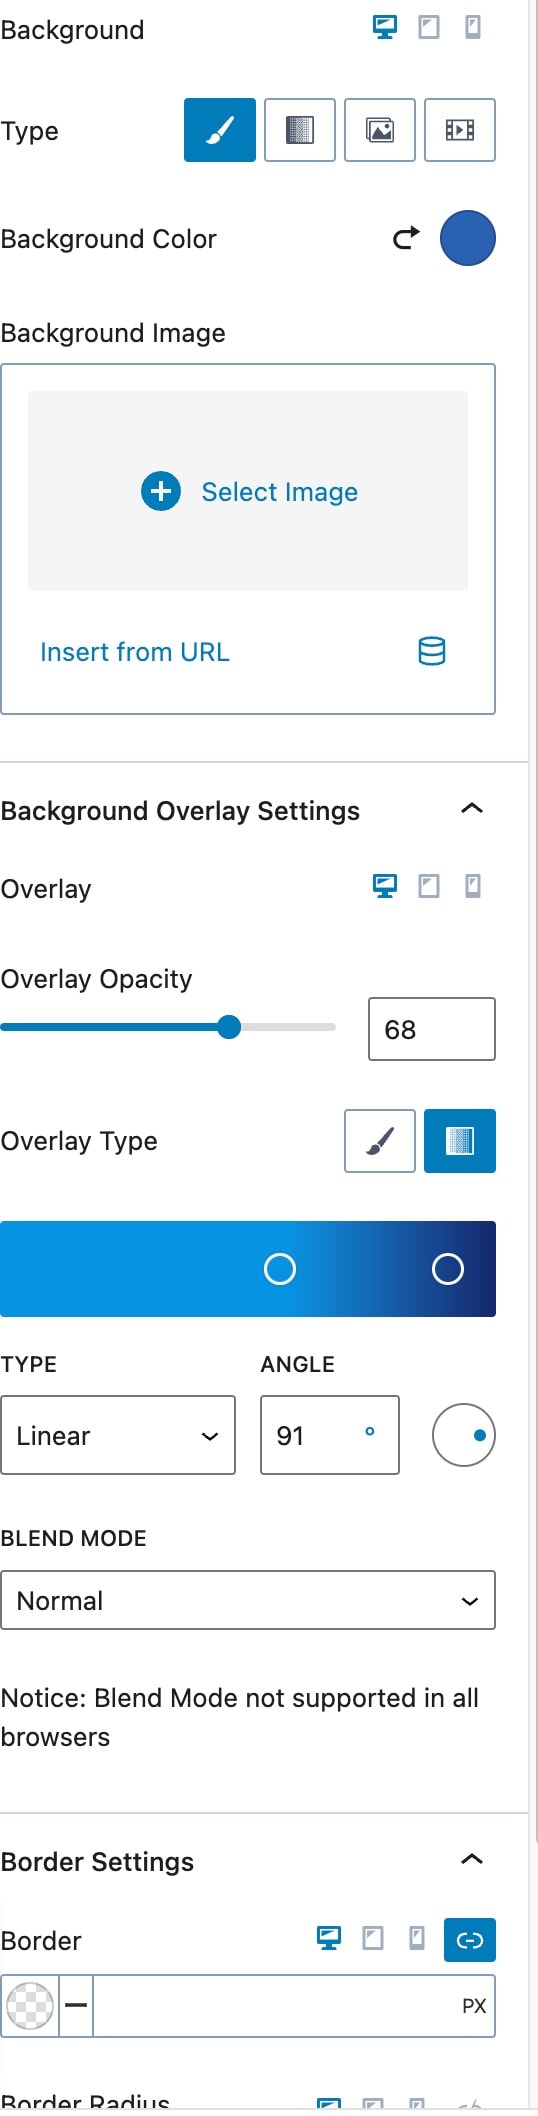
For the colors to have this gradient blue we are going to use #2B6CB0 the first color that I have in the global settings and for the button #FF5B23 that is a nice orange.
Once someone will hover over the box I want to have a scale-up transition there to do that we will need to add a class to the row in the advanced tab and add the below CSS there:
.services-box  {
	transition: all 0.7s ease-in-out;

}

.services-box:hover {

	transform: scale(1.05);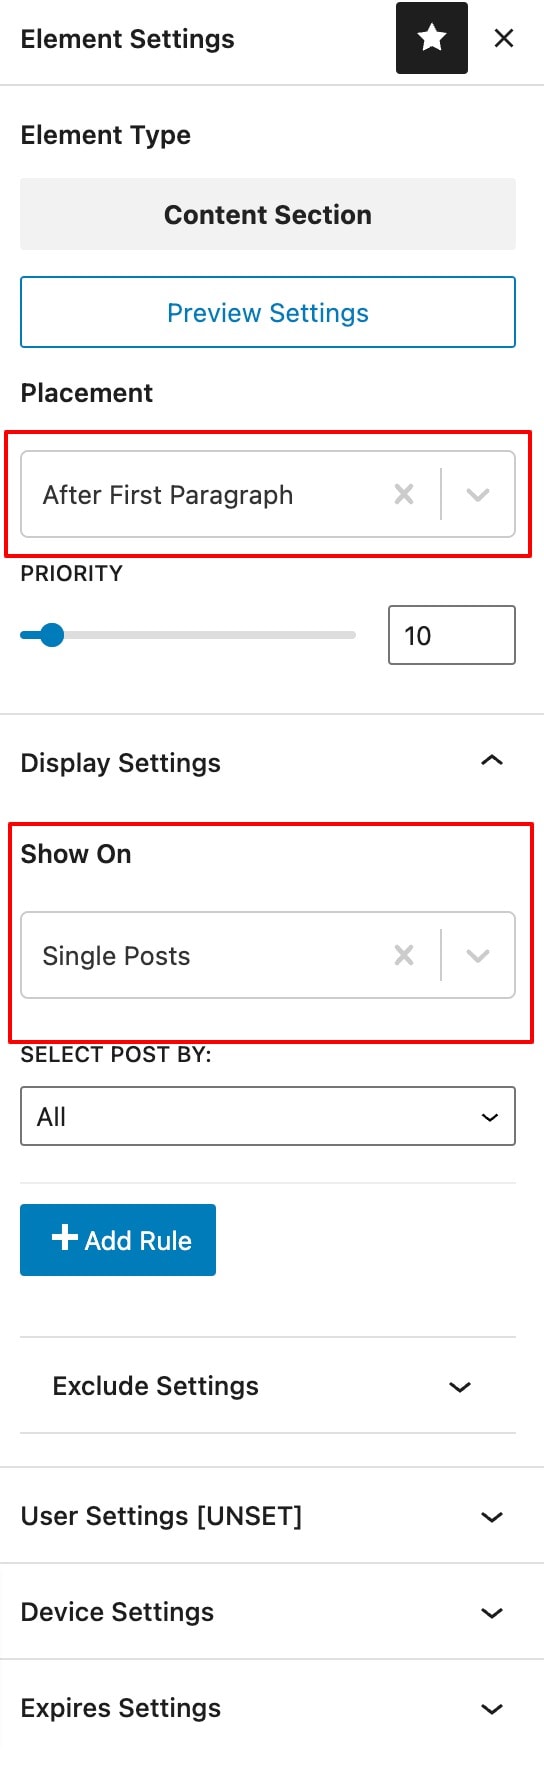
}If we like what we have we should move and enable the box everywhere. To do this we will need to select Inside the Content – After First Paragraph, next Show On – Single Posts as in below picture:
Now you can create as many boxes as you want and add them to your content as you like.