
Sticky elements can be a good source of revenue increase for stores or affiliate offers as they will attract visitor’s attention.
In this article and video, you will see how you can make any Gutenberg block sticky. You can make a button, image, or even a call-to-action box sticky. This can be done with the help of the Sticky Block plugin, this will add the sticky block wrapper in which you can include the elements you want to become sticky. This plugin makes this very easy and fast with a minimum performance impact.
1.Install Sticky Block plugin
Just go to Plugins – Add New and search for Sticky Block. Activate the plugin and that’s it.
2.Add Sticky Block
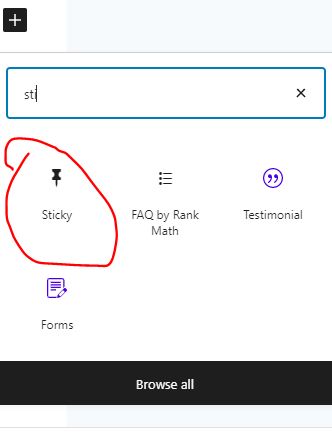
After plugin is activated you can add the sticky block as in the bellow picture:
In the sticky wrapper, you can add any block you want, and will become sticky. You can try with a button to a product, or with a call to action box.
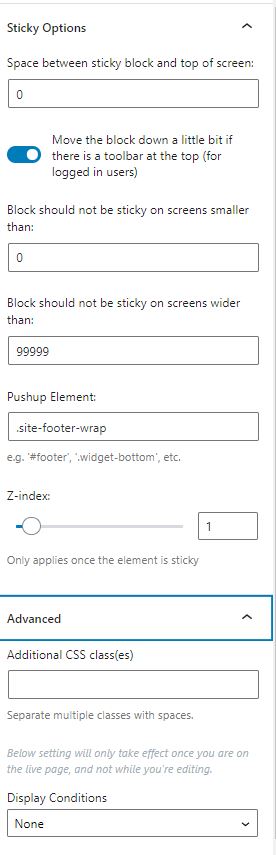
3. Sticky Options
You have the option to add, space between elements, choose the screams to be sticky on, pushup element, display conditions: to be visible only for mobile, desktop, choose operating systems, etc
That’s all you need to do, to have a sticky element.
Check the bellow video to see the exact steps with a more detailed explication.